
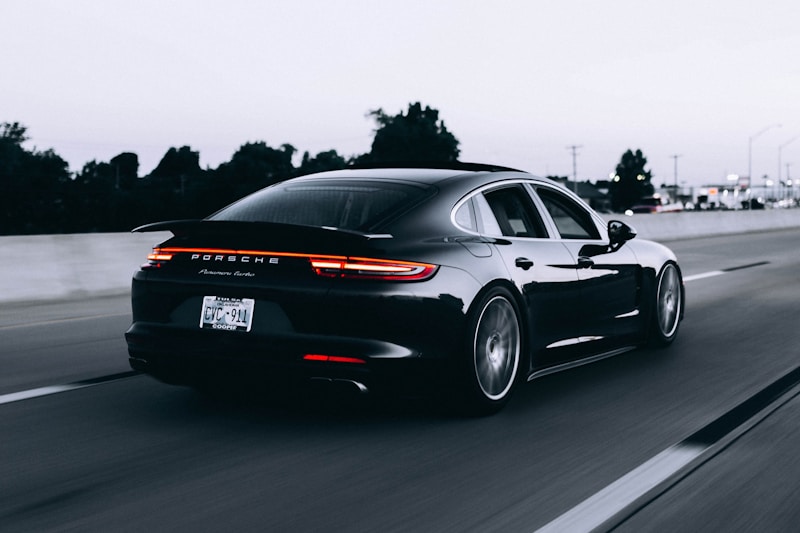
How to Apply Vinyl Side Graphics to Your Porsche 911: A Step-by-Step Guide
How to Apply Vinyl Side Graphics to Your Porsche 911
Fitting premium vinyl graphics to your Porsche 911 doesn't require a professional installer — with the right preparation and technique, you can achieve a showroom-quality result at home.
What You'll Need
- Your Porsche Vinylwerks pre-cut vinyl kit
- Isopropyl alcohol (70%+ concentration)
- Microfibre cloths
- A squeegee or credit card
- A heat gun or hairdryer
- Masking tape
Step 1: Clean the Surface Thoroughly
This is the most important step. Any contamination — wax, grease, or polish residue — will prevent the vinyl from adhering properly. Wipe the entire panel with isopropyl alcohol and allow it to dry completely.
Pro tip: Work in a warm environment (ideally 15–25°C). Cold surfaces make vinyl less pliable and harder to work with.
Step 2: Dry-Position the Graphic
Before peeling any backing, hold the graphic up to the panel and identify your alignment reference points. On a 911, we recommend aligning to the door shut line at the rear first, then working forward.
Use strips of masking tape as a hinge — tape one edge of the graphic to the car so it can't move while you peel and apply.
Step 3: Peel and Apply
Peel back a small section of the backing paper (about 20cm). Work slowly from one end to the other, keeping the graphic taut and pressing down with your squeegee at a 45° angle as you go.
Use overlapping strokes and firm pressure — this pushes out any air bubbles toward the edges.
Step 4: Apply Heat to Curves
The 911's bodywork has compound curves, especially around the sill and arch areas. Use your heat gun on a low setting (or a hairdryer) to warm the vinyl before stretching it around curves. Work in small sections.
Warning: Don't overheat — keep the heat gun moving and maintain at least 15cm distance from the surface.
Step 5: Remove Transfer Tape
Peel the transfer tape back at a low angle (almost parallel to the surface) very slowly. If the vinyl lifts with it, lay it back down and use more pressure with your squeegee before trying again.
Step 6: Final Inspection
Run your fingers along all edges to ensure they're firmly bonded. If you spot any small bubbles, use a pin to make a tiny hole and press the air out gently.
Care & Longevity
Wait 48 hours before washing. Avoid pressure washers aimed directly at graphic edges. With proper care, our 3M™ vinyl graphics will last 5+ years.
Happy fitting — and share your result with us on Instagram @porschevinylwerks!