Installation
Preparing paint before applying decals: the part everyone rushes
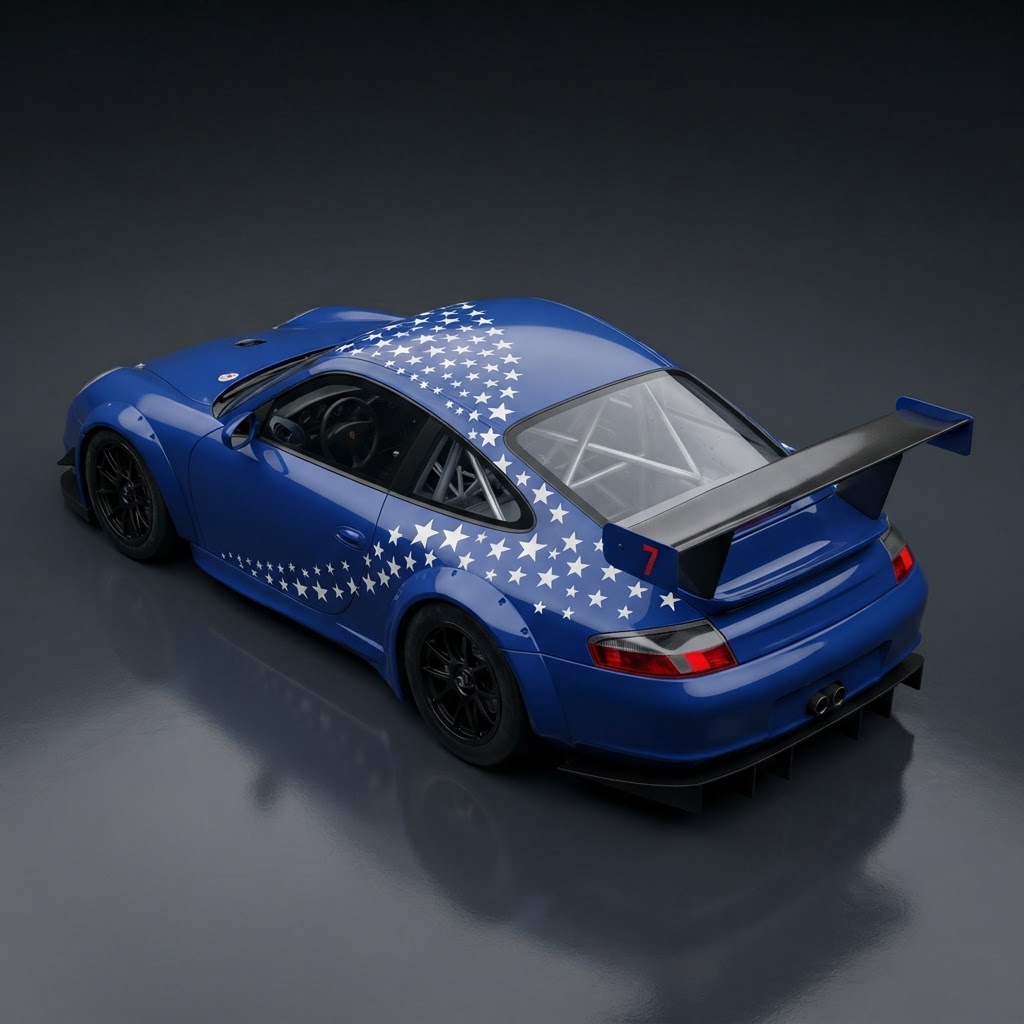
Walk around any car park and you can spot decals that were fitted to a panel nobody prepared. They sit slightly proud, there is a faint halo of dust or polish under the film, and the edges have started to lift within weeks. None of that is the film's fault. The panel underneath it was not ready.
Preparation is not complicated, but it is sequential and it cannot be rushed. Washing is not decontaminating, and decontaminating is not degreasing. Each stage removes something the next stage cannot.
Stage one: wash
Start with a normal wash using a pH-neutral shampoo and a clean mitt, working from the top of the car down. Rinse thoroughly. The point of this stage is simply to remove loose dirt and road film so the later stages are not just moving grit around the panel. Dry with a clean microfibre rather than letting the panel air dry, because water spotting becomes a contaminant in its own right.
Stage two: decontaminate
Paint that feels rough to a fingertip through a plastic bag is holding bonded contamination: tar, industrial fallout, tree sap, insect residue. Tar spots can be softened with a dedicated tar remover applied to the cloth rather than flooded onto the panel, and fallout responds to a chemical fallout remover, which turns colour as it works. Clay, used with plenty of lubricant, is the traditional way to finish the job on a surface that still feels rough.
Be careful with these products. Tar removers and solvents are exactly the kind of thing you do not want to leave on a decal, so do this work before any film goes on, and rinse thoroughly afterwards.
Stage three: degrease
This is the stage that gets skipped, and it is the one that matters most. Washing removes dirt; degreasing removes the oils that washing leaves behind, along with any wax, polish residue or silicone dressing. Mix isopropyl alcohol with water, roughly one part alcohol to two parts water, apply to a clean microfibre, and wipe the panel in one direction with light pressure. Turn the cloth or change it regularly so you are lifting residue off rather than redistributing it.
Do the wipe twice. On a dark panel you will often see a faint haze come off on the second pass even though the panel looked spotless. That haze is what would otherwise sit between the adhesive and the paint.
Stage four: checks before you lay anything
Before you peel a single piece of backing, run four checks. Dry: no standing water, no damp seams, no moisture in the gap between panel and trim. Cool: a panel in direct sun can be hot enough to make adhesive grab instantly, so work in shade and let the car cool. Sound: any stone chip, blister or peeling lacquer under the film will telegraph through it and, worse, can lift the paint when the film is removed later, so avoid or repair those areas. Flat: check that the surface does not have a raised edge where a previous decal or a paint protection film has been removed.
If a panel fails the fourth check, do not fit over it. You will not fix it with film, and you will make it harder to repair later.
Working with new paint
Freshly repainted panels need time. Solvents continue to leave the paint for a considerable period after the car is handed back, and film over an uncured panel traps them. The result can be softening, blistering, or adhesion failure that looks like a bad decal but is really an impatient schedule. Ask the bodyshop when the paint can be covered, and if in doubt, wait longer.
Handling the film with clean hands
It is easy to prepare a panel perfectly and then contaminate the adhesive with a fingertip. Wash your hands and dry them before you start, keep the backing paper clean, and do not let the adhesive face touch anything except the panel. On a multi-piece kit, such as our bonnet roundel and twin stripe kit, lay the pieces out on a clean surface in the order you will fit them so nothing has to be picked up twice.
Four preparation mistakes that show up later
Wiping with a dirty cloth. A microfibre that has been used on wheels or door shuts is holding grit and oil. Use a fresh cloth for the final degrease and fold it so you are always wiping with a clean face. If a cloth falls on the floor, put it in the wash rather than carrying on with it.
Working in the sun. A warm panel feels pleasant to work on and is the worst possible surface for fitting film. Adhesive grabs on contact, the film becomes floppy in a way that makes precise alignment harder, and any air trapped under the film expands as the panel heats. Move the car into shade and let it cool before the final wipe.
Skipping the second degrease. One pass looks sufficient and rarely is. The second pass is what removes the residue the first pass lifted into suspension, and it is the difference between film that bonds to paint and film that bonds to a film of polish.
Fitting over a chip or a lifting edge. Any defect under the film telegraphs through it, and removal later can take the defect with it. If a panel has stone chips in the area the graphic covers, have them touched in and allowed to cure first, or choose a design that sits clear of them.
None of these takes long to correct. They are habits rather than skills, and they explain most of the difference between a decal that lasts and one that does not.
After the fit
Leave the car alone for a day. No washing, no rain where you can avoid it, and no pressure washer near the new edges. That window is when the adhesive is doing its final work. After that, a normal hand wash is fine.
If you would rather not do the preparation yourself, our installer network lists vetted fitters who do this every day. If you are fitting it yourself, check the kit matches your model and generation with the fitment checker first so the panel sizes are right before you start.